How to become an Agency Partner
Create accounts for your clients or invite them to join themselves. Get paid every time a client signs up for Loopify. Your clients will get a $50 reward in pre-paid credits to send SMS or print campaigns.
- Log into your Loopify account or create a new one.
- Select the Partner Program app and join as an Agency Partner.
- Fill in your bank details and hit the Register button.
- Await your Partnership to be approved by Loopify.
Note: If you have an existing Loopify account, use it to join our Partner Programs and keep all your campaigns and data.
To-do list
Become a Certified Loopify Agency Partner
Create a new client account
Set up your client’s account
Create a new client account
- Enter the Partner Program app from your Loopify account.
- Click on Accounts in the left side menu.
- Click the button to + Add New Account.
- Select the invoicing model, either Invoice Partner (discounted invoices), or Invoice Customer (kickback to Partner).
Note: Partner users (and Loopify employees) don’t count towards the user limitation in the customer accounts connected to a Partner account.
Create and set up the client account on their behalf and set yourself as invoice receiver. The invoices you receive for your clients’ accounts will have a discounted license.
- Enter the client’s company name.
- Select their country.
- Select their time zone.
- Select the license they’ll use.
- Check that you have read and agreed to the Loopify Partner Terms.
Invite your client to create their own account and get a kickback paid to your bank account. The payout will be visible under the Fees & Payouts section in the left-side menu.
- Enter the email address of the new Account Owner.
- Enter the client’s company name (the name of the account).
- Check that you have read and agreed to the Loopify Partner Terms.
- Send sign-up link. This link will be sent automatically to the Account Owner's email address you entered above.
- Your client will receive an email with a link to finalize the sign-up process by completing the account registration.
Set up your client’s account
1. Take care of the technicalities
2. Import contact lists
3. Customize templates
4. Warm-up new domains
5. Add apps and set up integrations
Take care of technicalities
Select your client’s Loopify account and go to the Settings app. Follow each category to choose the necessary settings.
- Logo: Add your company logo to brand the Manage subscription page. We recommend uploading a logo with a white or transparent background. You can preview to see what your Manage subscriptions page looks like.
- Colors: Add your client’s company brand colors or your favorite colors. You can access them easily when creating templates and campaigns. Choose from our color wheel or use a hex color code.
- Fonts: Manage your default fonts. We're using the rich Google Fonts library. Add one or more fonts by choosing a Google font, a web-safe font, or your own self-hosted custom font. Remember, not all email clients support custom fonts.
Newsletter senders: Manage your newsletter senders and sending domains. You can add multiple senders and domains.
- Choose a sender name.
- Add the sender's email address.
- Choose a reply-to address. This can be the same as the sender's email or a different one.
- Click to verify the email addresses.
- Add the passcode that is sent to the email address you have registered.
- Add a sender domain (more info below).
- Once the domain is active, update the sender you created earlier with the domain.
Watch a tutorial about email senders
Tracking codes: Use Loopify link tracking or use your own digital analytics tool. Talk to your client about how to set up the tracking codes so that the link tracking is consistent. The codes can be set for all campaigns or can be set on link insert. You can use variables like campaign name, campaign subject line, link type or send date, or fixed values like medium and source.
Learn more about email settings and tracking codes
Newsletter Sender Domains: Manage your newsletter sending domains. Add your own domain to allow Loopify to send emails on your behalf, reducing the risk of emails going to the spam folder.
- Choose a region.
- Add a domain prefix (anything that is not already in use, e.g., newsletter).
- Add the domain you want to use.
- Click to register your domain, and you will receive an email to the registered sender address with DNS information you can use to update your domain.
- Open your DNS provider, add the five records as described, and check the status in Loopify.
- Once verified, you can start sending emails from this domain.
Note: We recommend starting with a warm-up campaign to improve sending reputation and deliverability and avoid the spam filter. Warm-up will be described below.
Tracking codes: Use Loopify link tracking or use your own digital analytics tool. Talk to your client about how to set up the tracking codes so that the link tracking is consistent. The codes can be set for all campaigns or can be set on link insert. You can use variables like campaign name, campaign subject line, link type or send date, or fixed values like medium and source.
Note: To get tracking to work on the account, the page template has to be updated by a developer in Loopify with your tracking code. You can then reach us at support@loopify.com so we can help to implement it.
Learn more about Pages settings and tracking options
Custom domain: Use your own domain to render Loopify pages and links in pages. If you want the URL in Loopify pages to be your own company domain or a campaign domain, you must set up a subdomain pointing to our page app proxy.
Note: If you want the URL in Loopify links to be your own company's domain, this is set up separately and works for all links across all Loopify channels.
Learn more about custom rendering domain for Loopify pages
Learn more about how to add your own custom domains in links
Pre-paid credits: To send SMS using Loopify, you need to have credits. You can buy credits from either the SMS settings, Print settings, or Details and Billing information.
- Add the amount you would like to start with.
- Select ‘Auto-renew and notify’ if you want credits to be automatically added when you run out. We strongly recommend you set up auto-renewal to avoid having not-fully sent SMS campaigns because you run out of credits.
Watch a tutorial about pre-paid credits
SMS Senders: Add a new sender and choose a sender name. It can be up to 11 characters, avoid space and special characters like nordic letters.
Watch a tutorial about SMS senders
SMS Keywords: To create a keyword, you must send a request to Loopify.
- Click add a new keyword.
- Enter the keyword you would like to register.
- Click send request. Loopify will search for and offer you available keywords.
- Once you accept the offer, the keyword will be active.
Tracking codes: Use Loopify link tracking or use your own digital analytics tool. Talk to your client about how to set up the tracking codes so that the link tracking is consistent. The codes can be set for all campaigns or can be set on link insert. You can use variables like campaign name, campaign subject line, link type or send date, or fixed values like medium and source.
Learn more about SMS settings and tracking codes
Custom domain: Use your own domain for links in SMS. If you like the URL in Loopify links to be your own company's domain, this is set up separately and works for all links across all Loopify channels.
Pre-paid credits: Buy new SMS and Print credits. Select ‘Auto-renew and notify’ if you want to add credits automatically when you run out. Here you will see the cost for generating a PDF file and how many files you can generate with the current credit amount.
Watch a tutorial about pre-paid credits
Tracking codes: Use Loopify link tracking or use your own digital analytics tool. Talk to your client about how to set up the tracking codes so that the link tracking is consistent. The codes can be set for all campaigns or can be set on link insert. You can use variables like campaign name, campaign subject line, link type or send date, or fixed values like medium and source.
Learn more about print settings and tracking options
Print channels: Add Print Channels for sending different formats to your preferred Print Houses. You can set up a print channel with size, net, or width bleed parameters and set the transfer method to email or an FTP address.
Learn how to add a Print Channel
Custom domain: Use your own domain for links in Print. If you like the URL in Loopify links to be your own company's domain, this is set up separately and works for all links across all Loopify channels.
Manage your segments: Segmenting contacts is a smart but simple way to divide and sort your contact list as you see fit. You can add new segments within segment groups. You will later be able to connect your contacts to these segments.
Segments can be added and managed from the Settings app or directly under the Contacts app.
- Click add new segment group.
- Type a group segment name.
- Start adding segments (called values).
- Choose input type: single-select or multiple-select.
Note: Single-select allows each contact to be part of only one of the segments within the group at the time. If a contact is added to another segment, it will automatically be removed from the previous segment. Multiple-select allows the contacts to be part of any of the segments within the group simultaneously. If a contact is added to another segment, the contact will still be connected to the previous segment(s).
Watch tutorials about segments and segmentation
Manage contact data fields: Every account comes with a set of predefined fields. These include, e.g., External Id (your customer number, member number, etc.), First Name, Last Name, Email, Mobile, and more.
If you need fields other than the predefined, you can create new fields from the Settings app or the Contacts app.
Note: When you import a contacts file, all the necessary fields must be created before you start importing.
Add new fields to store all the contact data you need.
- Click add a new field.
- Type the name of the field.
- Choose the field type you want this to be (input type: date, number, text, text area, or sequence-number).
- Add placeholder text, tooltip text, and validation rules if you like.
Read more about contact data fields
Manage account data fields: Add fields to store global data like your Company address or local data collections* like retailer information (*requires Loopify Magic license). Adding account data allows you to use these data as variables, e.g., footer information, and will enable you to manage and update this information from one place instead of in each campaign.
- Click on Global Account Variables to start adding information.
- Add a variable, choose the variable's name (e.g., Company email), and the field value (e.g., info@loopify.com).
- Add as many fields as you need.
Account roles
Owner - handles all payments and invoices and can delete the account-also, the only one who can change the Owner.
Admin - can change account settings, make/edit templates, invite users, change user roles for admins and users, and transfer ownerships on a campaign.
User - use existing templates to create and send campaigns
App user - receive notifications
Invite a new user
- Click on Users under Settings.
- Ensure the drop-down menu is set to Users & Admins with access to all Loopify apps.
- Click Invite a new user.
- Add their email address.
- Select what role they shall have.
- Write an optional message.
- Click Send invitation.
The user will receive an invitation to claim access to the account. They will have to create a password and add their mobile number. The username is the email address they were invited with.
App-user: You need to activate the Alerts app to create app-users.
- Go to the App store.
- Select Alerts and click Connect app.
- Once you have activated that app, go to the Settings app and select Users.
- From the drop-down menu, choose Users with access to the Alerts app and Invite a new user.
- Enter the email address and an optional message and Send invitation.
The user will receive an invitation to claim access to the account in the same way as regular users, but this will create a user that does not have access to the entire account, but you can send alerts to.
Change account owner
From the user settings, the account owner can click on their own user and Change the account owner. The new Owner has to have the admin role to be selected.
Import contact lists
There are several ways to add contacts to the client’s account, either manually or automatically.
There are several ways to add contacts to your account: create a contact by manually adding one, import a file (CSV/Excel) of contacts, add contacts using a form in a Page in flow, import contacts using an External form in flow, import contacts using an API integration in flow, import contacts using file import in flow or use SMS keywords to import contacts.
If you are importing contacts automatically and some contacts already exist on the account, Loopify will update the existing contacts based on three values that define the contact’s uniqueness: first their ExternalID, then their mobile, and lastly, their email.
Note: There cannot be two contacts with the same ExternalID. However, contacts with two different ExternalID's can have the same email and mobile. Also, contacts with two different mobile numbers can have the same email.
There are several campaign entries in flow that you can use to import and/or update your contact automatically, depending on your needs. Make sure you go through each to learn what works best for your client and how to set it up.
Read more about campaign entries in flow campaigns
You can also read more under the Integrations section below.
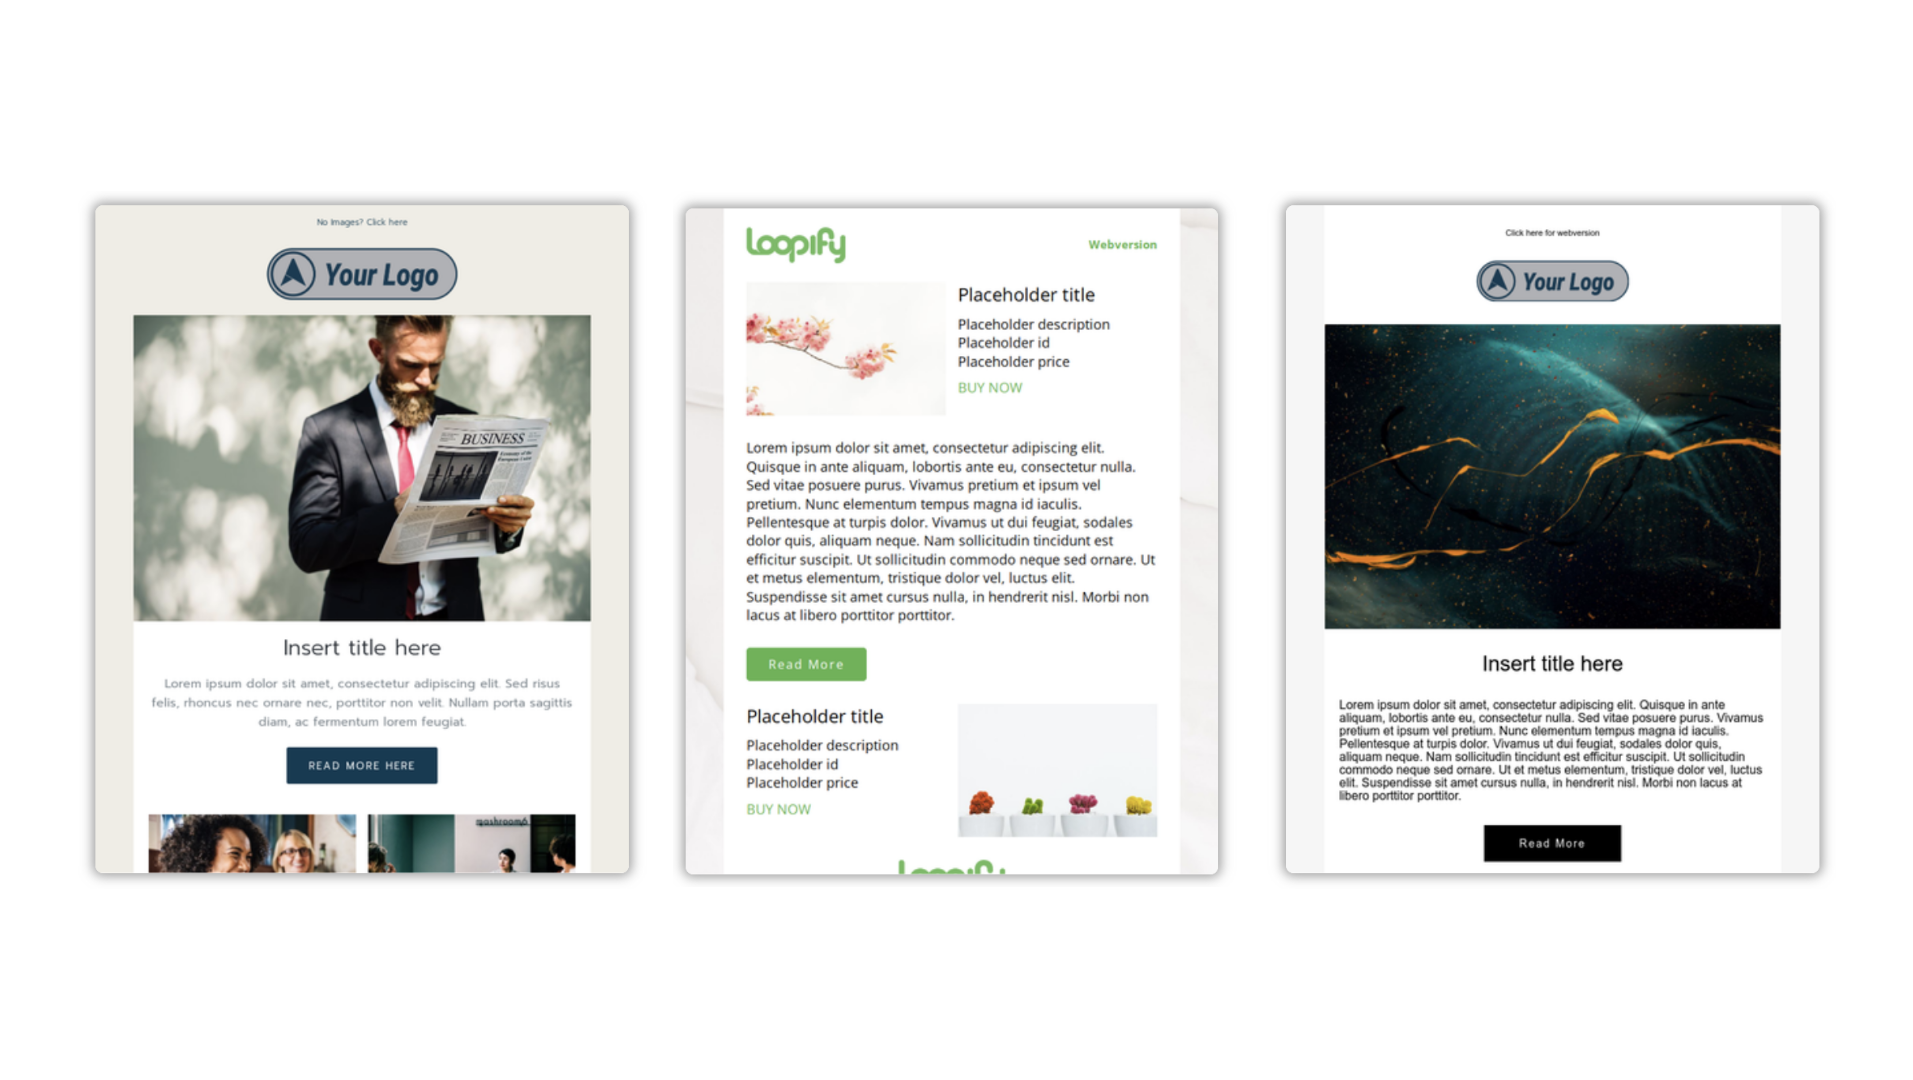
Customize templates
The Loopify app already provides several free email, page, and print templates. The library is under constant development, with new modules being added.
The Loopify app already provides several free email, page, and print templates, and the library is under constant development. But most of our clients prefer to get their own template custom-made to match their corporate branding guidelines.
- Click add new design template.
- Choose one of our templates, choose an account template, or copy a shared template.
- You need to save and publish the template to be able to use it to create a campaign.
Read more about selecting a template and creating a campaign
In addition to selecting a design template, you should adjust some template settings to get the design you need.
In the template settings, you can decide if you want to make a module setting available in campaign editing mode or not. All you need to do is to tick or untick the box next to the setting. This way, you can ensure some settings stay fixed for all campaigns.
Learn how to lock and unlock module settingss
You can also choose which module from the module library, you want to use in your template simply by dragging and dropping it. You can also change the module's design (e.g., the background color of the submit button).
Warm-up new domains
We always recommend running a warm-up campaign for all new sending domains, this is to ensure a healthy sending reputation with the larger email service providers like Google, Apple, and Microsoft.
- Send out the same email to as many contacts as possible.
- Gradually increase the number of contacts you send, starting with 100 contacts on day 1, 200 contacts on day 2, 400 contacts on day 3, 800 contacts on day 4, and so on.
This will help maintain your reputation, it also increases the chances of delivering your emails to the contacts’ inboxes.
Add apps and set up integrations
You can choose to add more apps to the account like alerts, coupons, etc. And if you need to send data from and to Loopify to keep your systems up to date, you can integrate with Loopify in different ways.
Loopify Free images: A free integration with unsplash.com to access +1 million images to use in your templates and campaigns.
Read more about Loopify free images
Alerts: This app enables a person to receive alerts and reports from Loopify campaigns without being a user and having access to the account.
Read more about the Alerts app
Coupons: Send your customers mobile coupons they can redeem via text. It's a fun and effective way to drive customers to your business and boost sales.
Read more about the Coupons app
Notify: Send short, personalized, and predefined messages via Email or SMS to individual customers in a flash—no need to create entire campaigns.
Read more about the Notify app
Event Booking: Easily create and manage your events from start to finish. Keep track of event registrations, available spots, booking status, and wait lists.
We have several ways of integrating contact data to Loopify.
External form: The simplest is the "External form" block. If you already have a form on the website, you can easily send the data to Loopify by making a "form post" to the External form block. Such integration can be set up in a few minutes.
Read more about the External Form" block
API: If you have expertise in using APIs, i.e., how applications can be linked together automatically, then you can send data from your system to the API entry block.
Read more about the API entry block
Learn how to integrate your data with the Loopify API
Using the API entry block in flow, you can integrate your product line data from your eCommerce CMS. You can, for instance, create automated abandoned cart reminders or get product information bulk imported to your newsletter.
Read more about the abandoned cart reminder
Import block: You can also retrieve data by making an API call to your CRM system using the Import block or importing a contact data file that you can place on an FTP server or Dropbox.
Read more about the Import block
Loopify is a very flexible marketing automation tool, and we have made a small selection in our help center to show you some inspirational flows and common solutions for your marketing needs.
Share content between accounts
If you have a Loopify Magic account, you can share content between multiple Loopify accounts. Let your branches use your images, templates, and campaigns in their Loopify accounts.
Manage integrations
Learn how to manage your integrations/branches
Share templates to branches
Learn how to share your email template to branches
Copy ready-made campaigns
Read more about copying ready-made email campaign
Need help?
If you need help, reach out to our consultants, visit our free Help Center or contact our support team.
Loopify training and consultations
Work with a Loopify consultant and get marketing and technical consultations or training customized to your business and goals. Choose the Loopify package that is right for you.
Basic
$150 per hour without any fixed costs. Great if you need occasional consultations or training for specific tools.
Assist
$695 for 5 hours per month with a 12% discount for every next hour.
Perfect for you and your team if you need to brainstorm tactics and strategies, build and plan campaigns, and learn how to get the most of Loopify’s tools.

Success
$1165 for 10 hours per month with an 18% discount for every next hour. Transfer up to 5 unused hours onto the next month.
Get strategic advice to achieve your long-term goals, guidance for your business strategy, and customized solutions for your needs.
