
Design templates are a quick and easy way to create professional emails and landing pages. How you present your message is essential if you want people to engage and open your emails and fill out your landing page forms.
The best thing is that you don’t need to know how to code to use them.
Many marketing automation solutions offer design templates to make your life easier and save time when creating campaigns.
So here’s how you can make the most of Loopify’s templates.
7 Reasons to Use a Professionally Designed Template
Ready-made templates are an excellent option for everyone that wants to send professional emails, marketer or not.
Using design templates has multiple benefits for you and your business:
- Save time (you can use a template and create a campaign in minutes)
- Save money (you can use our templates for free)
- Templates are optimized to work on different devices (mobile, tablet, desktop)
- Templates are optimized to work with different email clients (Gmail, Yahoo, Outlook, Apple, etc.)
- You can easily customize templates with a simple drag and drop and no coding
- Templates help you be consistent with your design and branding
- Templates help you reduce the margin for errors and mistakes
Pre-built templates are optimized and tested multiple times on various devices, screen sizes, and email clients before they are released. You can use them knowing that they will work properly.
Note: Only Loopify Admins can add and customize templates.
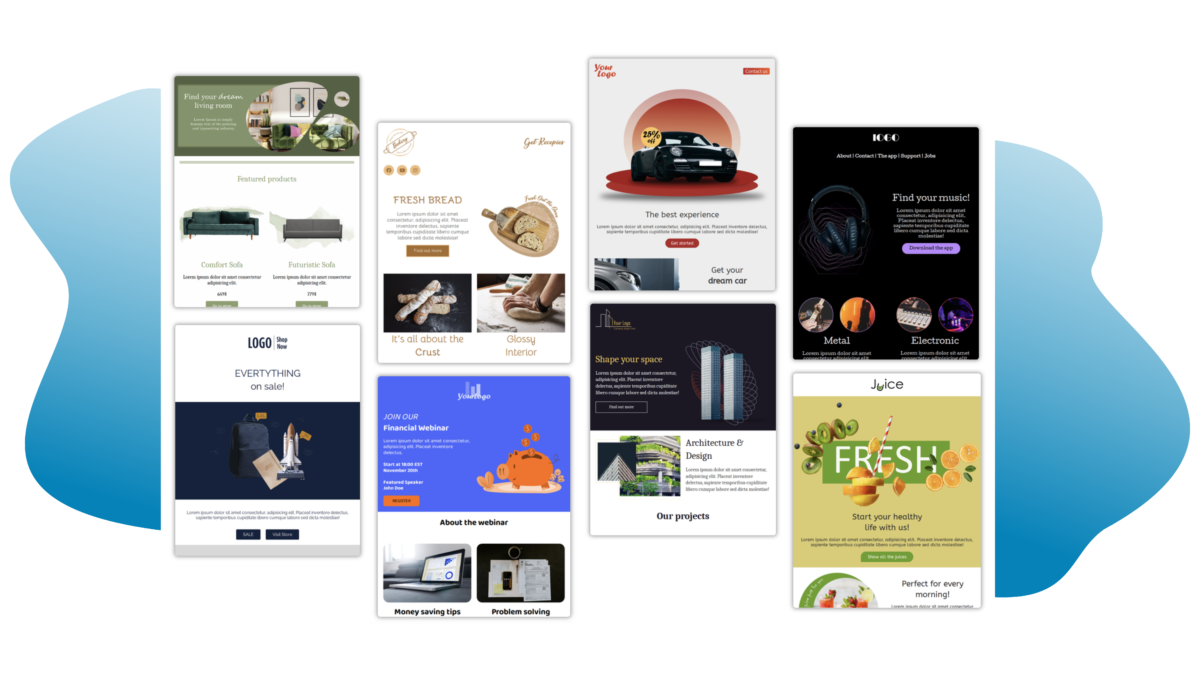
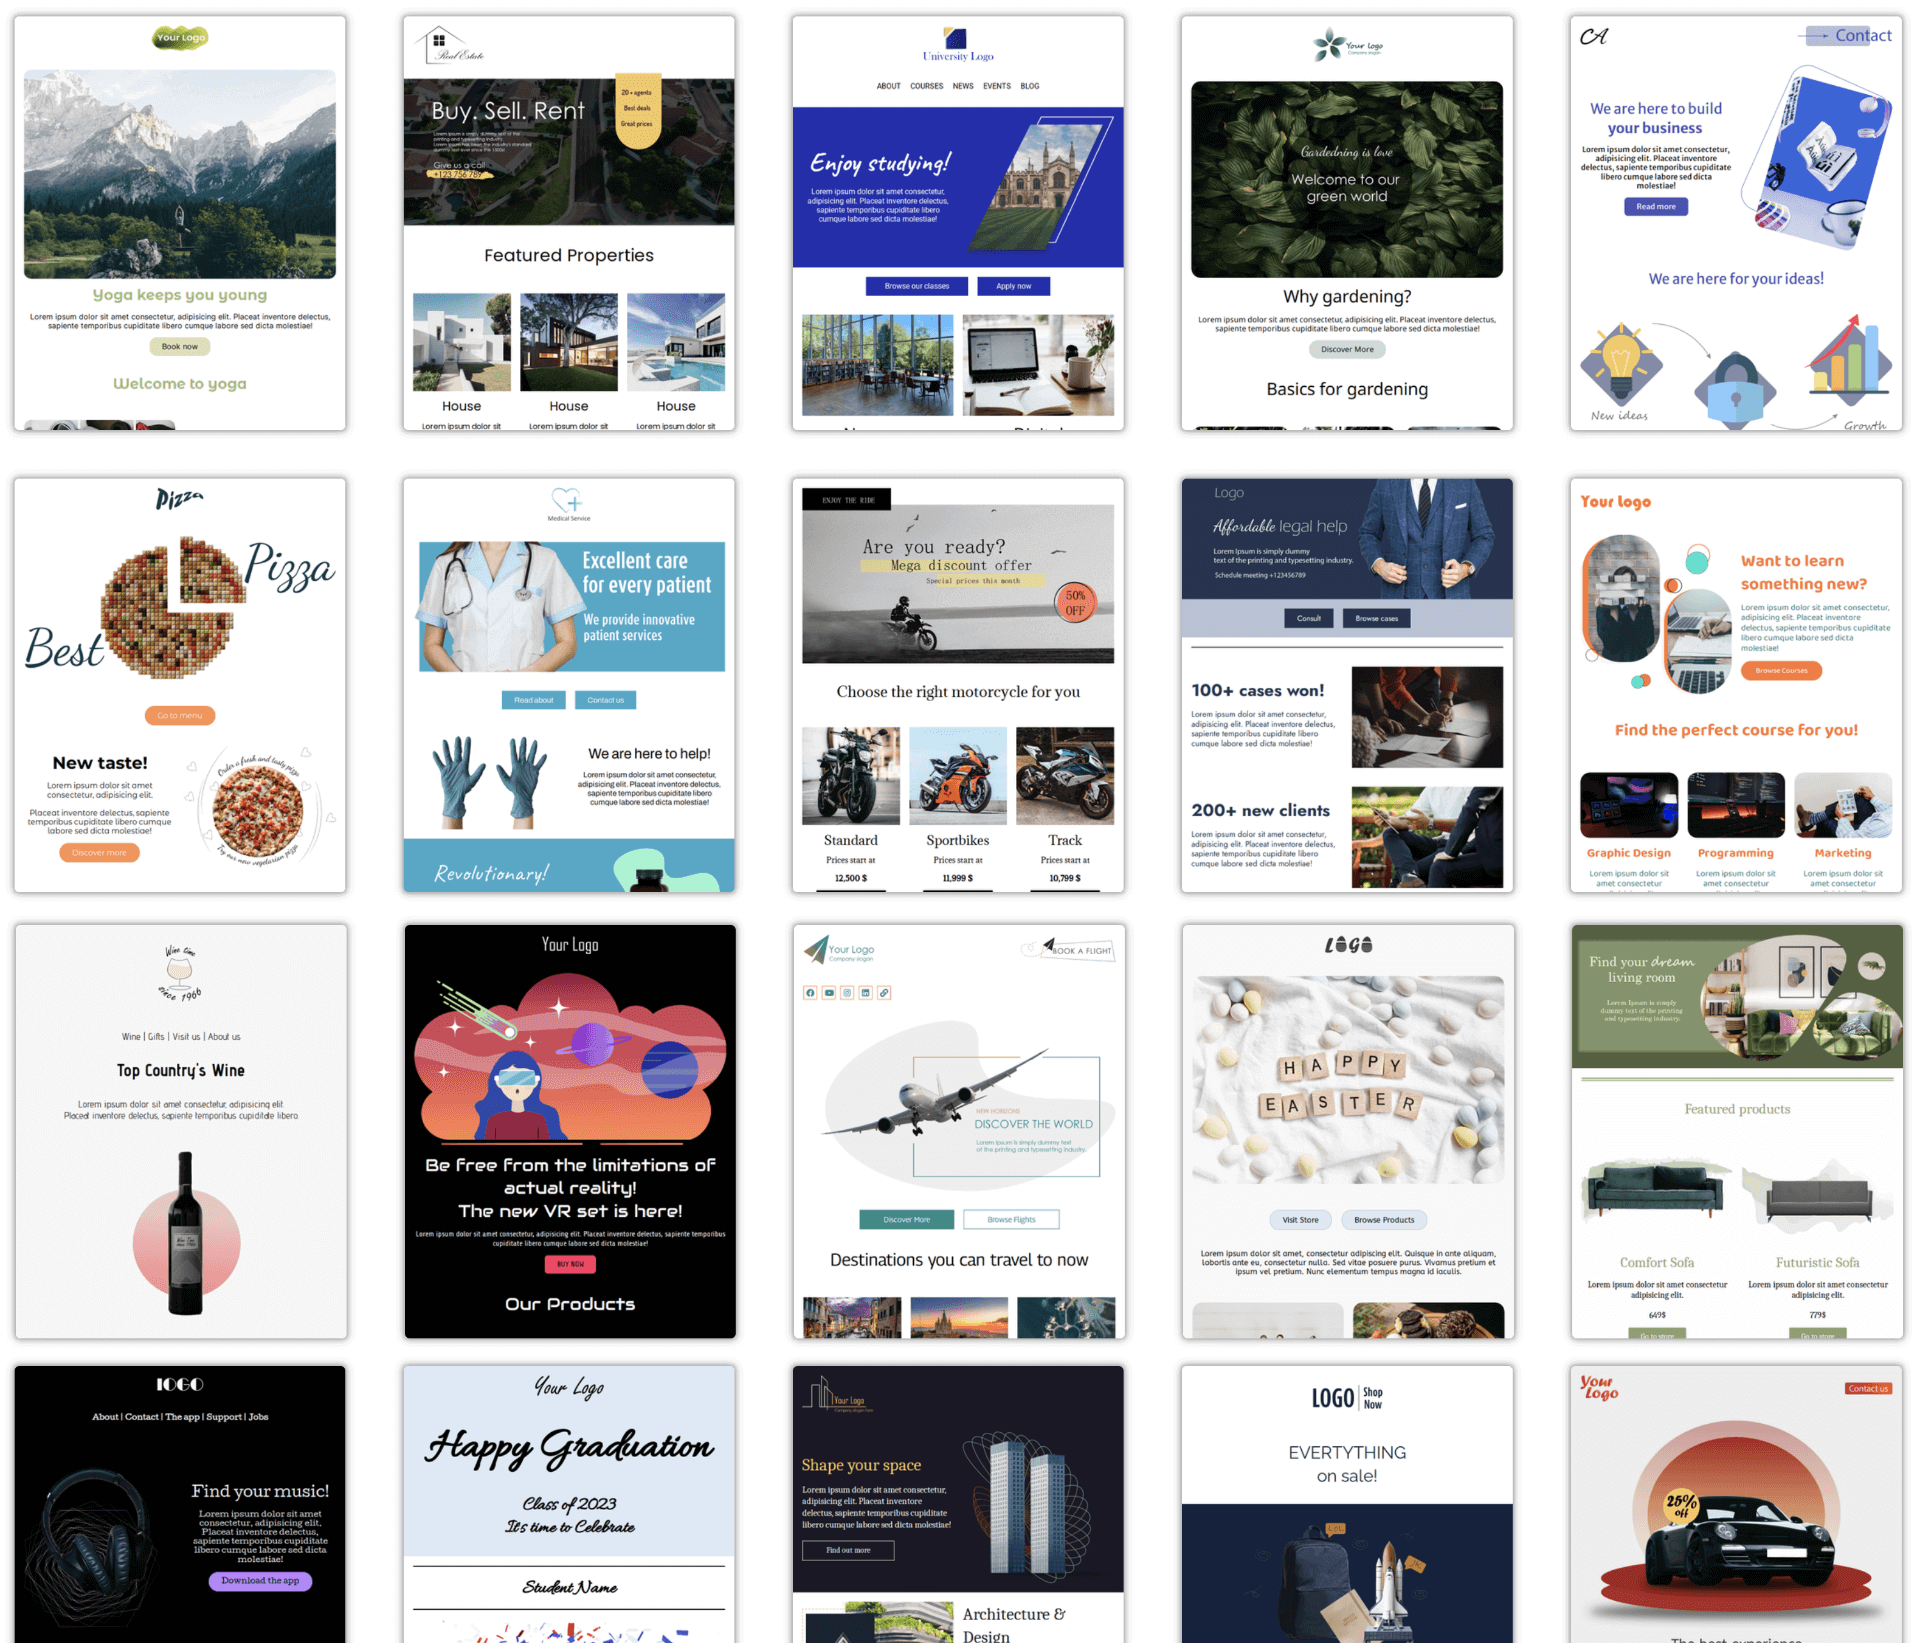
Explore Loopify’s Design Templates
All of our templates, email, and landing page are responsive and work on different screen sizes.
They also work with different email clients. So whether your subscribers use Gmail, Outlook, Apple Mail, etc., the emails they receive will look professional.
Here’s how one of our templates will look on mobile, tablet, and desktop.
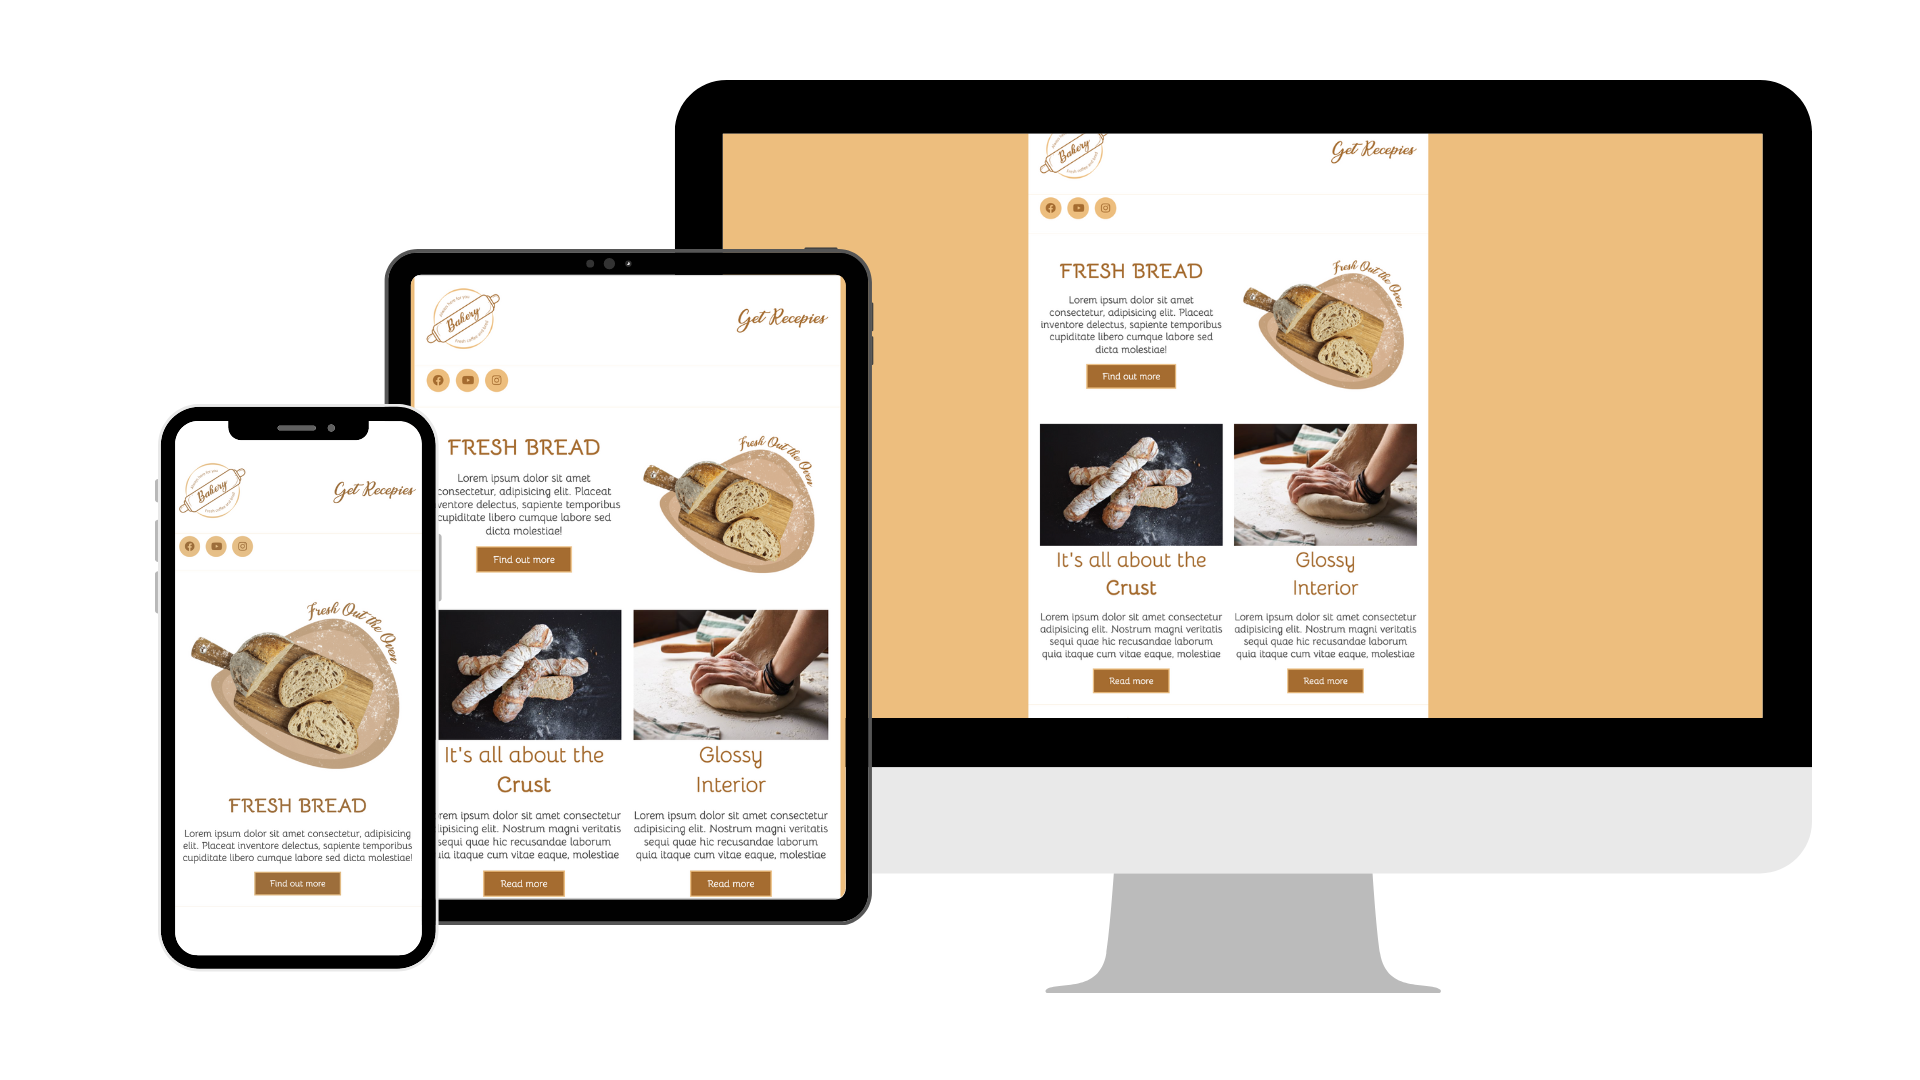
To see how each template will look, you can preview it on different devices. This also allows you to see if any changes are needed.
We keep adding new email and landing page templates to our library. Feel free to check them out.
- Log in or create a free account.
- Go to the Email or Page app.
- Click +Add design template to open the template library.
Browse through our library and choose a template that suits your needs. You can use it as it is or customize it.
Let’s see how you can customize templates.
Tip: Need a custom template? We got you. Here’s how to request one.
Customize Design Templates
We’ll use an email template as an example, but the same process applies to landing pages as well.
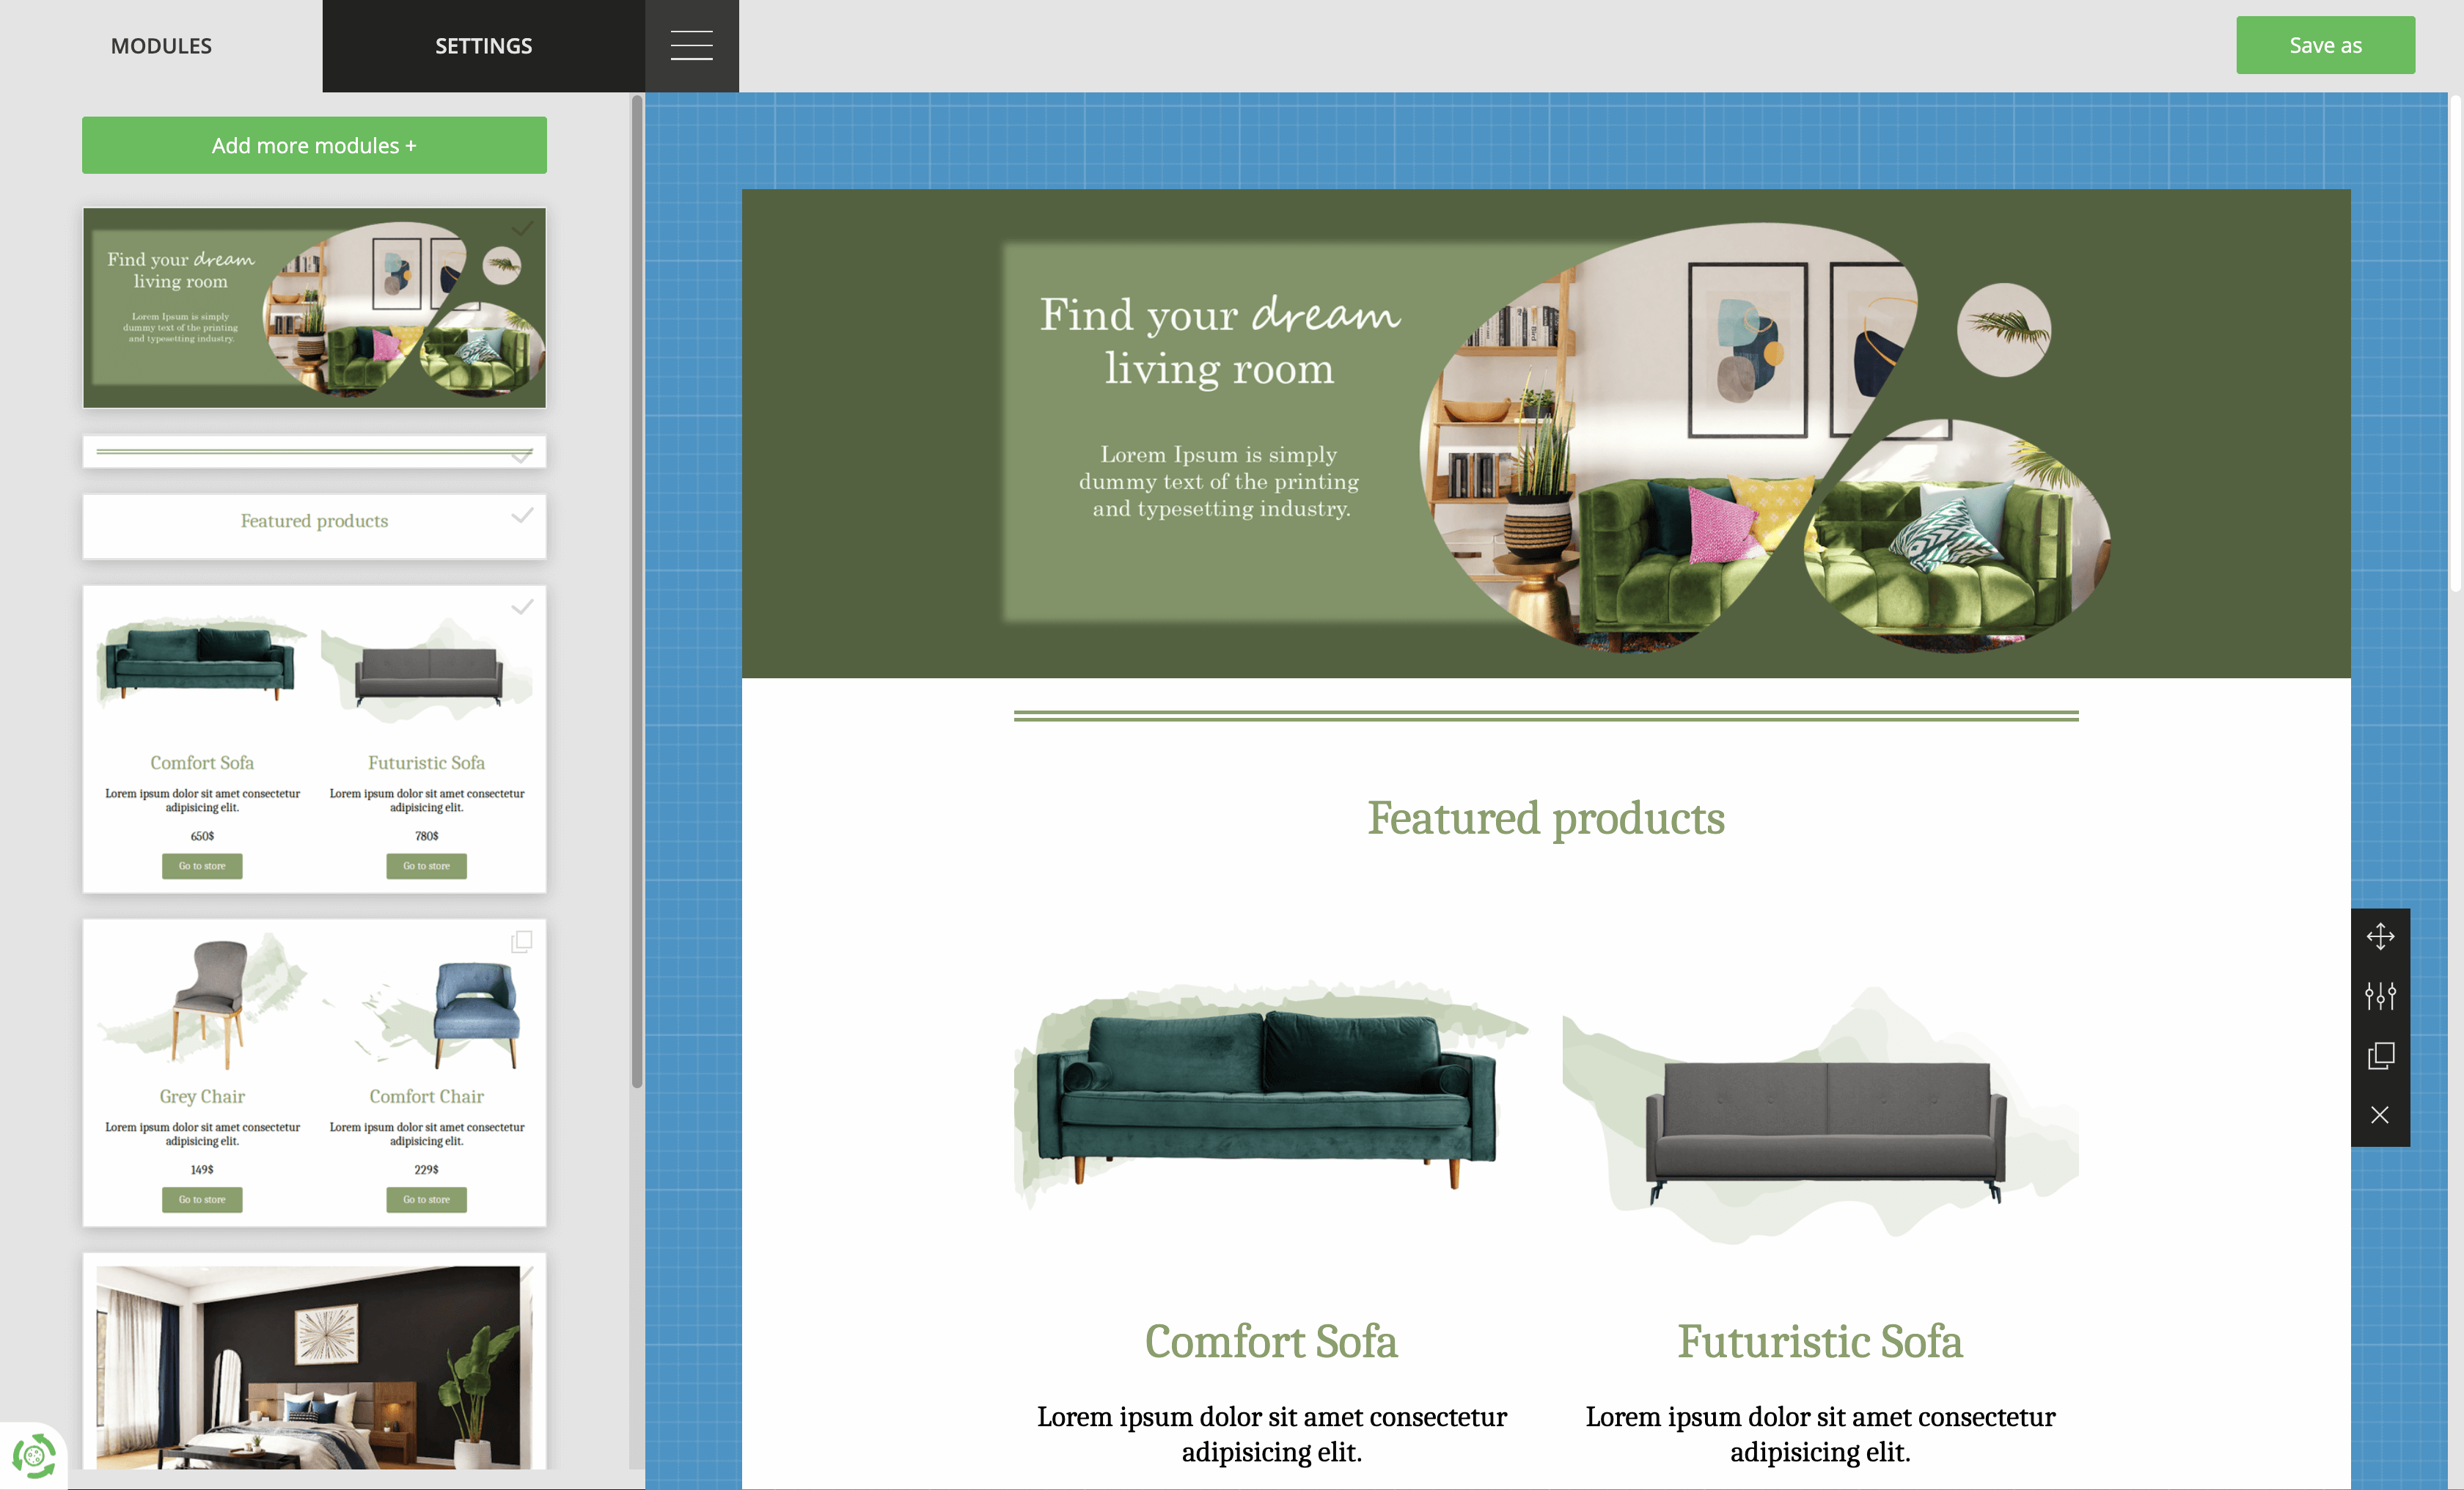
As soon as you choose a template from our library, you’ll enter the template editor. Here’s what you can do in the template editor:
- Add or remove modules to spice up the design.
- Edit the template settings on a global level, or edit the settings on each module.
- Customize any text or images that need to be a part of every campaign, like logos and company information.
Note: You can’t send a campaign from here. Once you save the template, you can publish it and use it to create a campaign.
1. Explore the template modules
Each design template comes with a set of modules. Scroll through the module library on your left, rearrange, and place the modules wherever you want in the template.
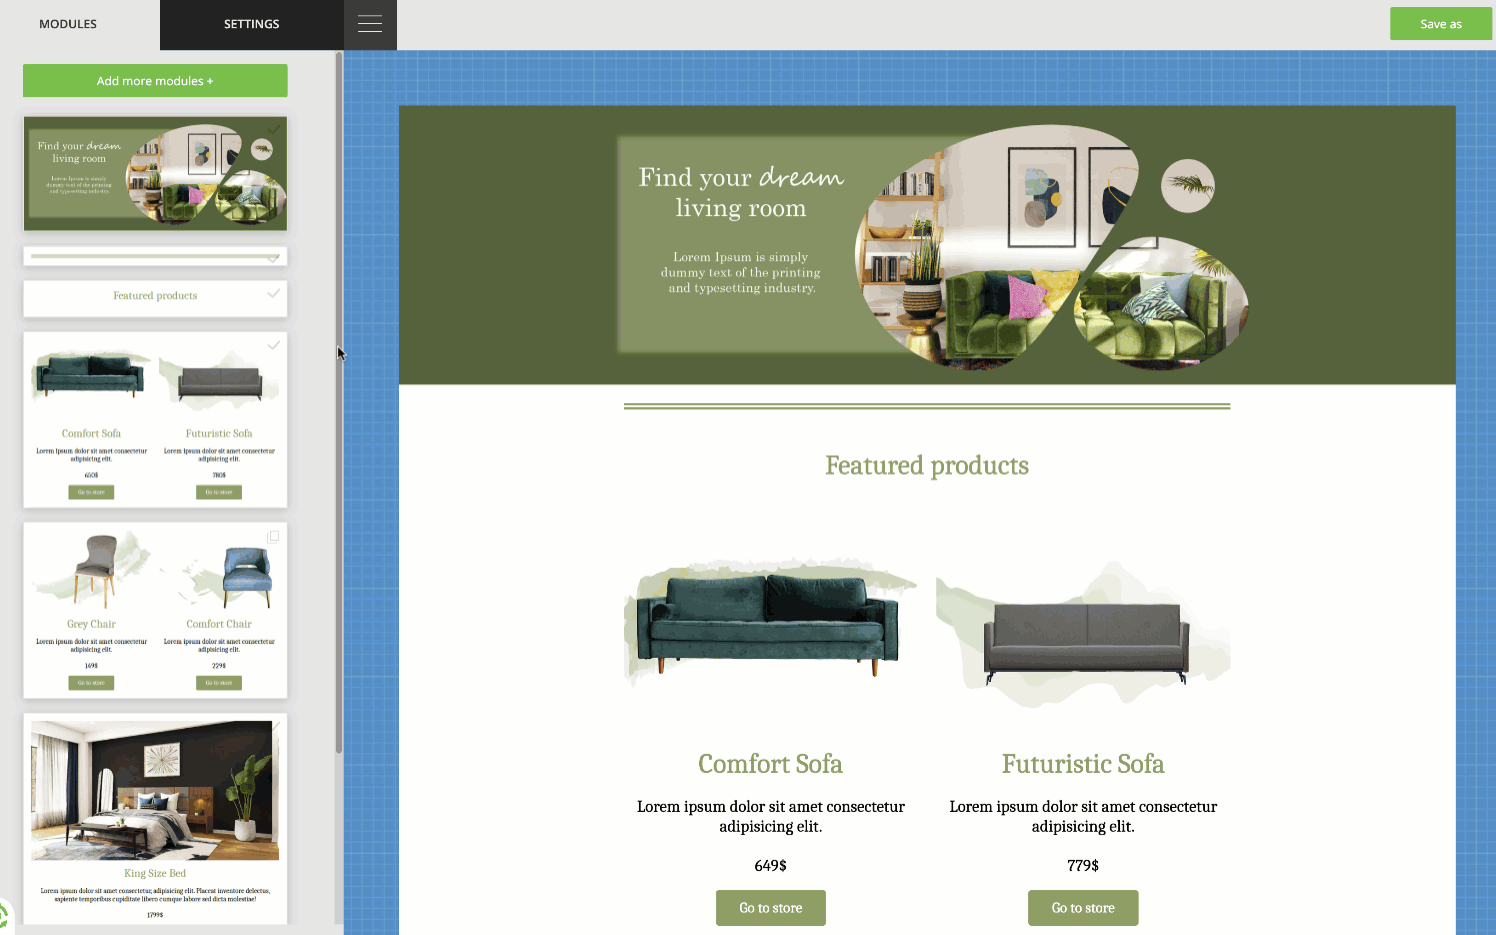
However, if you feel like some modules are missing, you can add them from our module gallery.
The best thing is any module you add will take over the template style. You only need to drag it into your template and add the images and text.

You can remove modules from the library that are redundant to the template you want to create. They’ll appear in the gallery once you remove them from the library.
Note: All duplicates from the module will also be deleted.
Once you decide on the modules that work for your template, it’s time to head over to the settings.
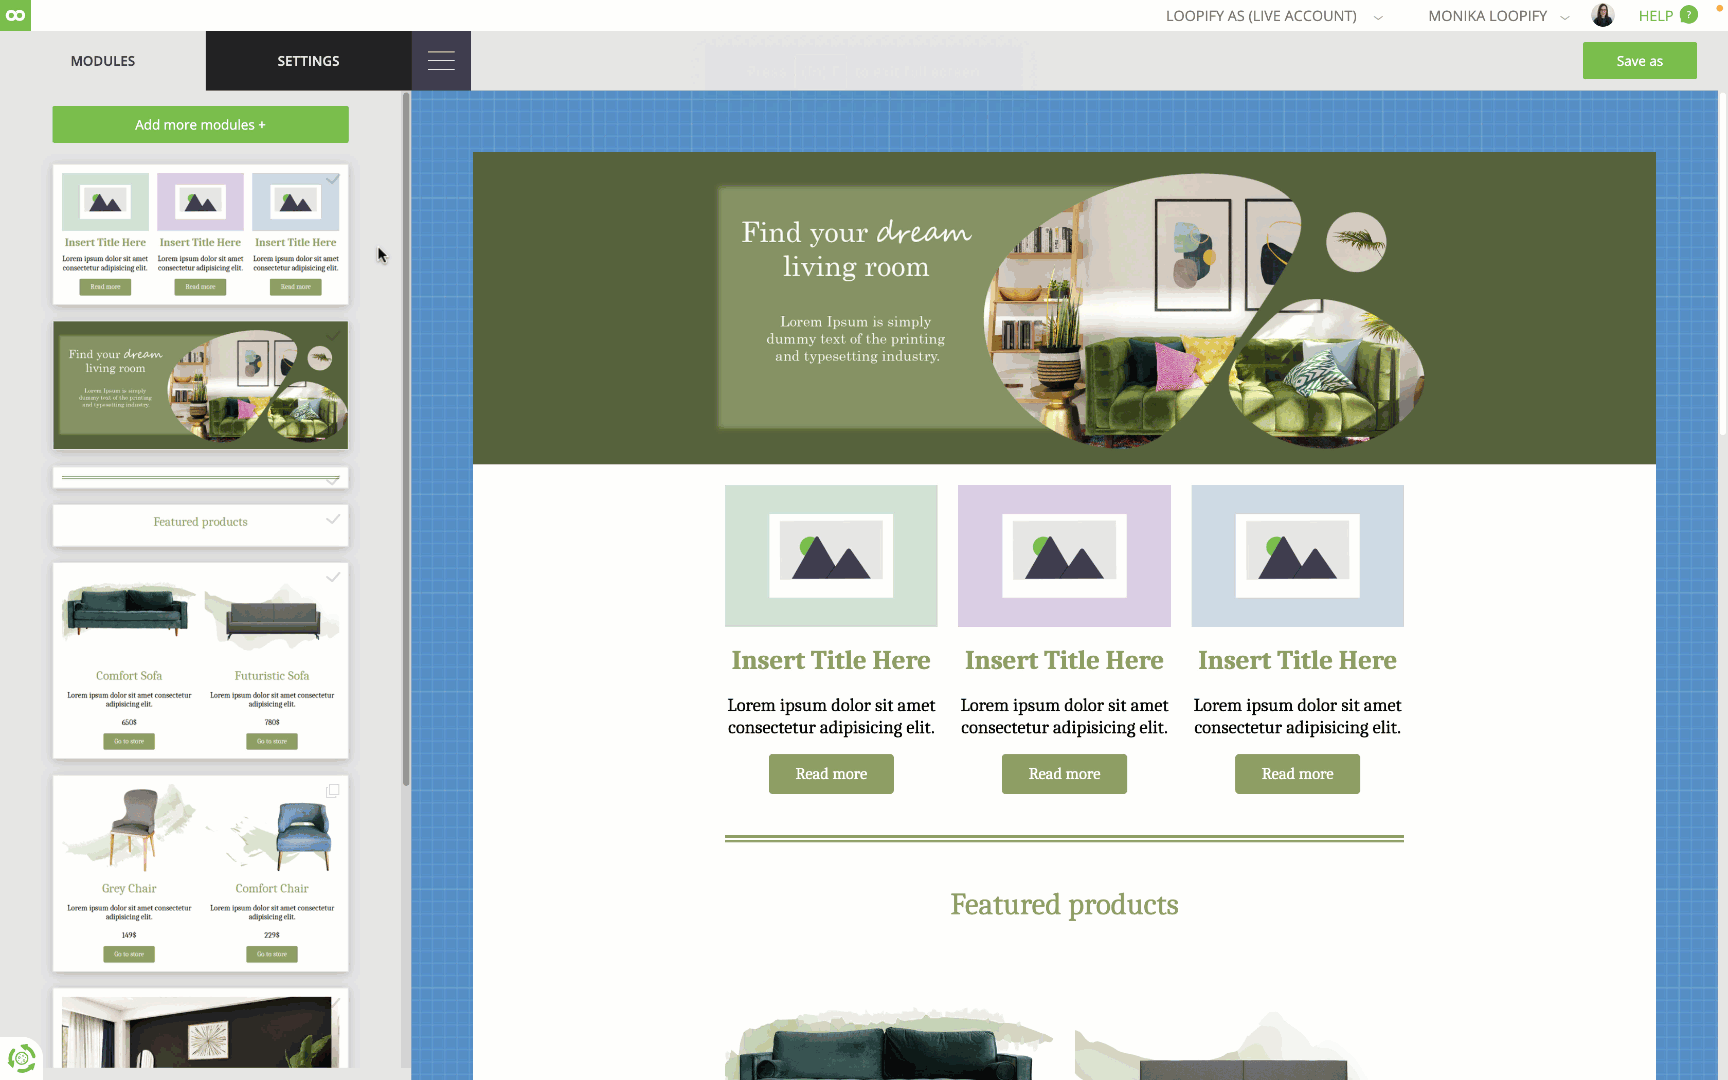
2. Explore the template settings
The settings allow you to adjust the template’s styles and appearance. You can change anything from colors, fonts, to image and button styles.
You can adjust the settings from two places.
- Global template settings
- Module settings
Global template settings help you control the design of the entire template and all modules from one place. It’s best to start customizing your template using these settings.
There are 4 categories of global settings that you can adjust:
- Layout and background
- Text design
- Image design
- Button design
Each has subcategories that will allow you to change the template’s look and feel completely.

Note: You can choose which settings should be visible in the campaign editor by locking and unlocking template settings. Settings are locked by default, which means they can only be seen in the template.
If you want any user to be able to change the design from the campaign editor, unlock the setting.
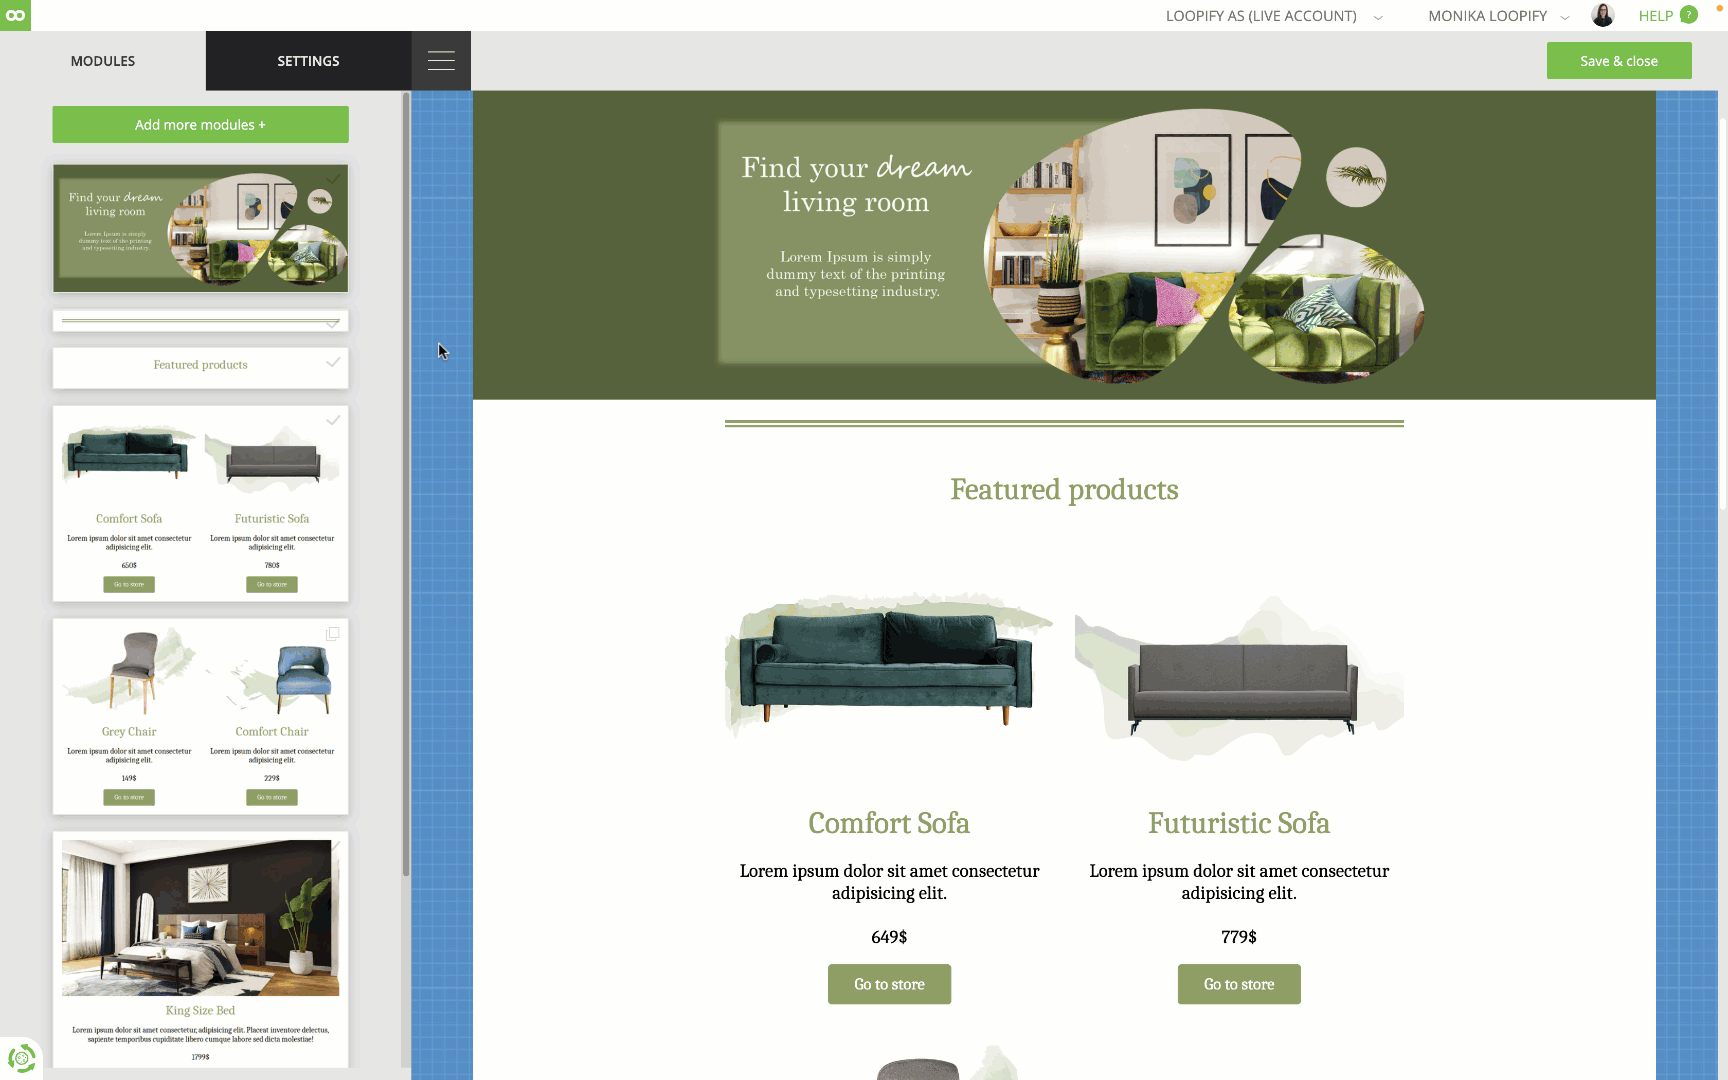
Module settings allow you to adjust the look of a single module.
You can also override the module’s default global settings and spice up its design.
- Choose the settings you want to override
- Change the values
Like here, you can choose a different background color for the line module to make it stand out.
Tip: Keeping the settings locked on the template level will ensure that you are consistent with the design of your campaigns.
If you allow users to change too many settings from the campaign editor, you may end up with various inconsistent email or landing page designs.
3. Customize and save a module design
If you decide that you don’t like how a module in your template looks, you can change and save it.
- Make adjustments to the module in the template.
- Change the images, or text styles like bold, add bullet points, and more.
- Then save the content to the module in the library.
This will update the module design, and you can use and drag and drop the updated module.
See the example below. Choose a cuter image for your footer, and save the module to your library with a single click.
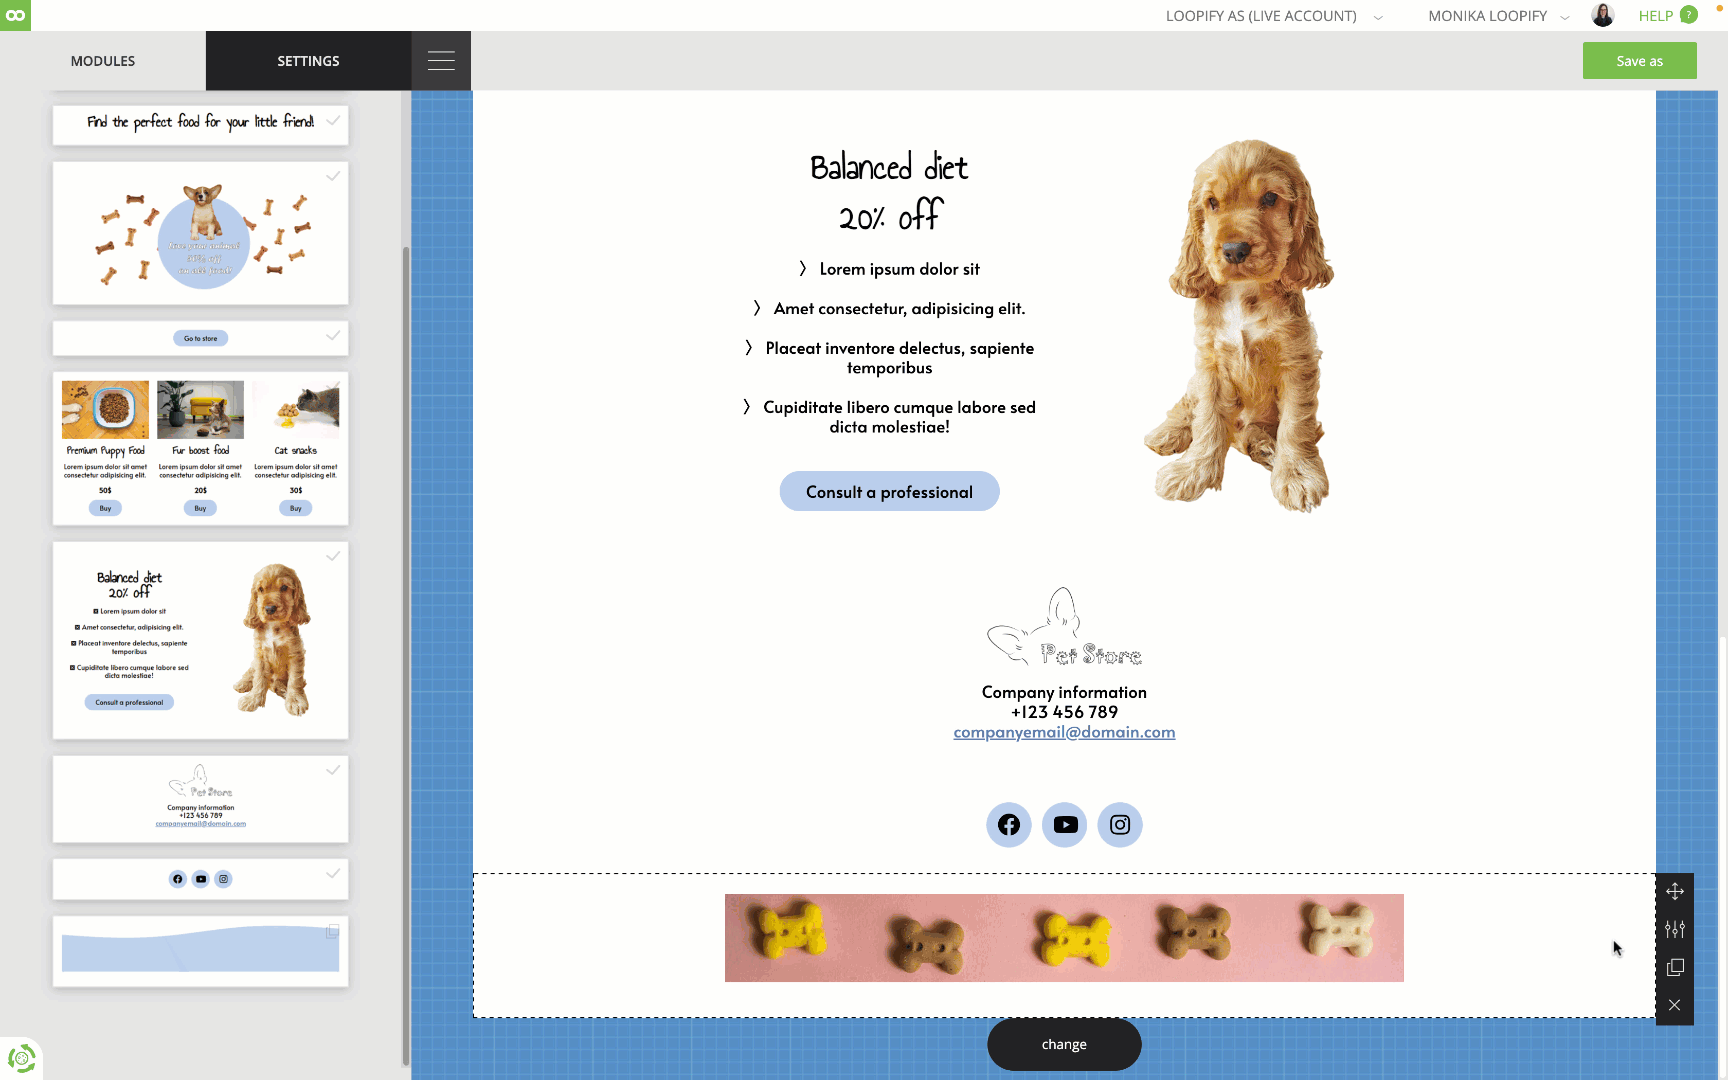
This allows you to use the customized module and not repeat the process every time. It’s easy.
4. Explore the free images you can use
In case you need to replace the images in your template, your account has a free Unsplash integration. Choose any of the wide selection of free images and use them for free.
- Click to change the image
- Select the Loopify Free Content from the drop-down menu
- Type in any keyword in the search bar to find specific images, like bakery.
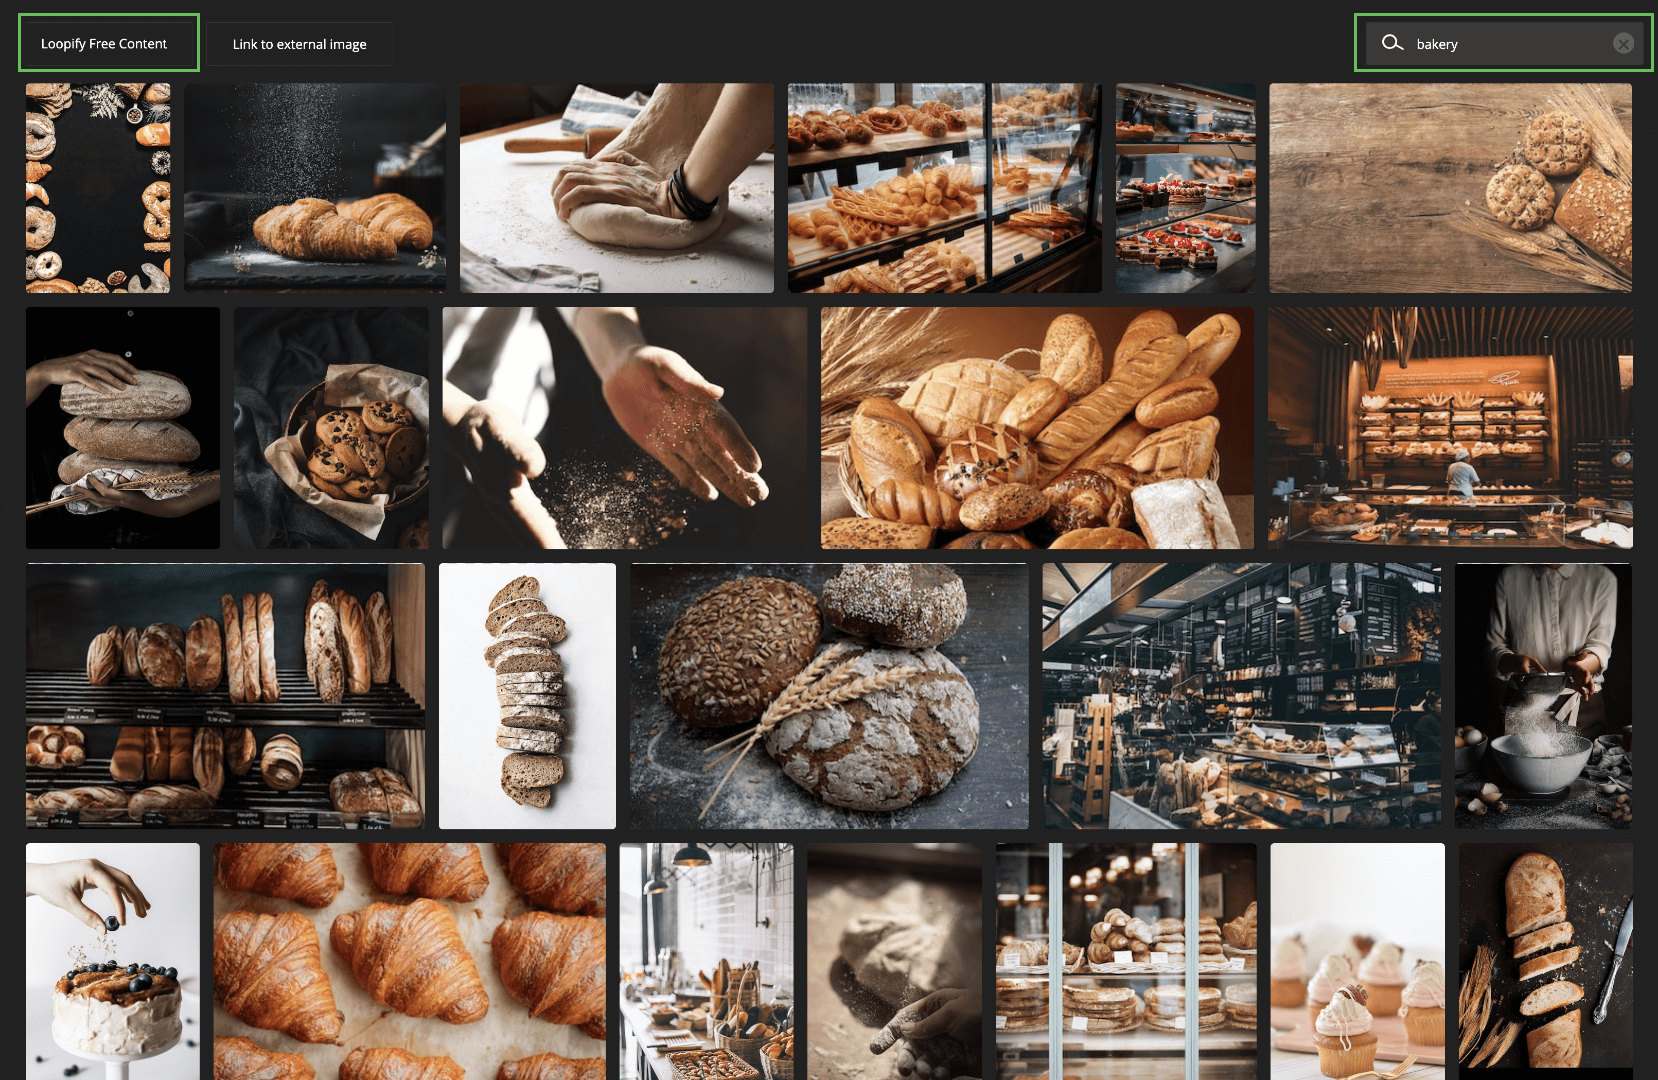
You can crop and save Unsplash images to your account and use them again.
5 Time-Saving Tips on Editing Templates
As someone with inside information 😉, here are some tips to make customizing templates easier for you.
Tip 1: Add your logo
Add your logo in the header and footer and link it to your website. Add alt text like [Company name] logo. This way, you won’t need to repeat this process in every campaign you create from this template.
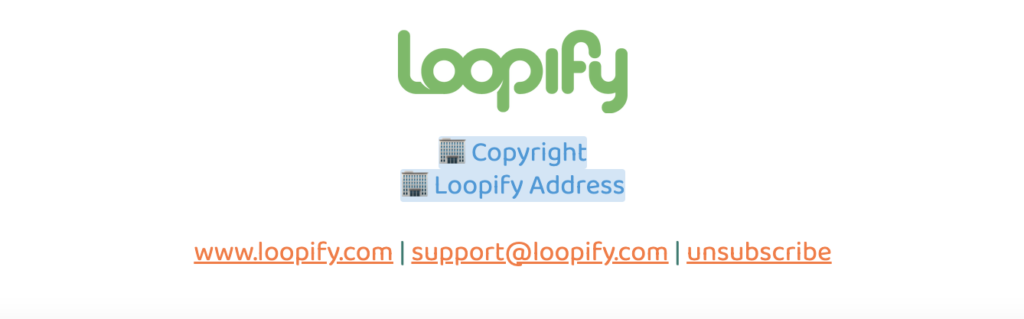
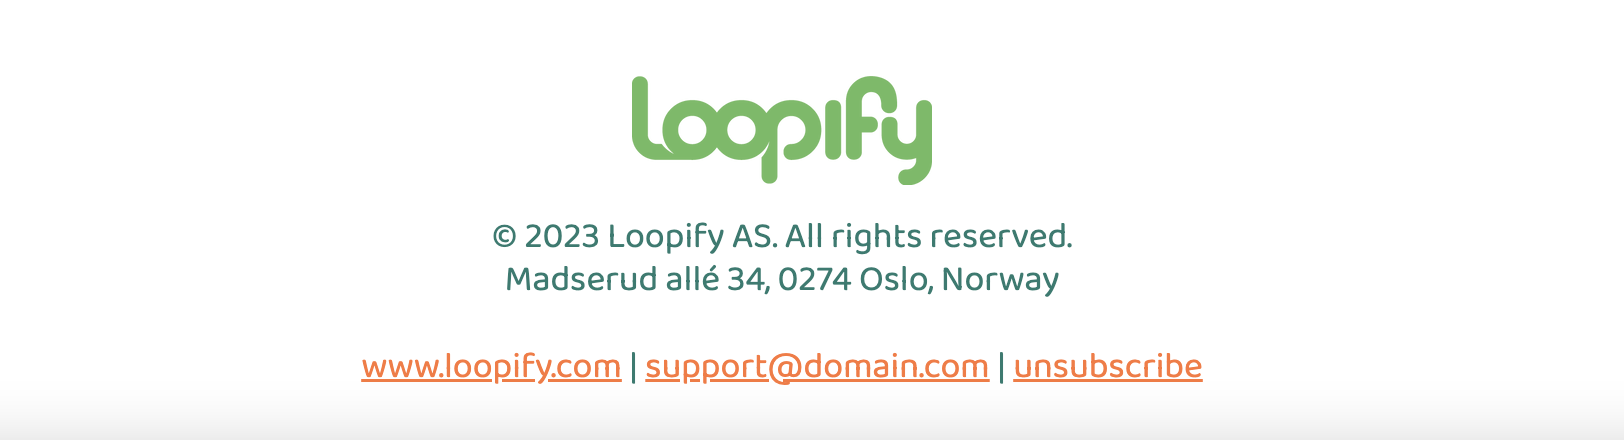
Tip 2: Use global variables for company information
Add your footer information as global account variables. This is a huge lifesaver.
Let’s say you have a new address. With global variables, it will take 2 seconds to replace your old address with the new one in every campaign. Just edit the value of the variable, and it automatically updates all campaigns.
However, if you have this information as regular text, you’ll need to manually change it in the template and in every campaign.
And this is how global variables show up in the footer.
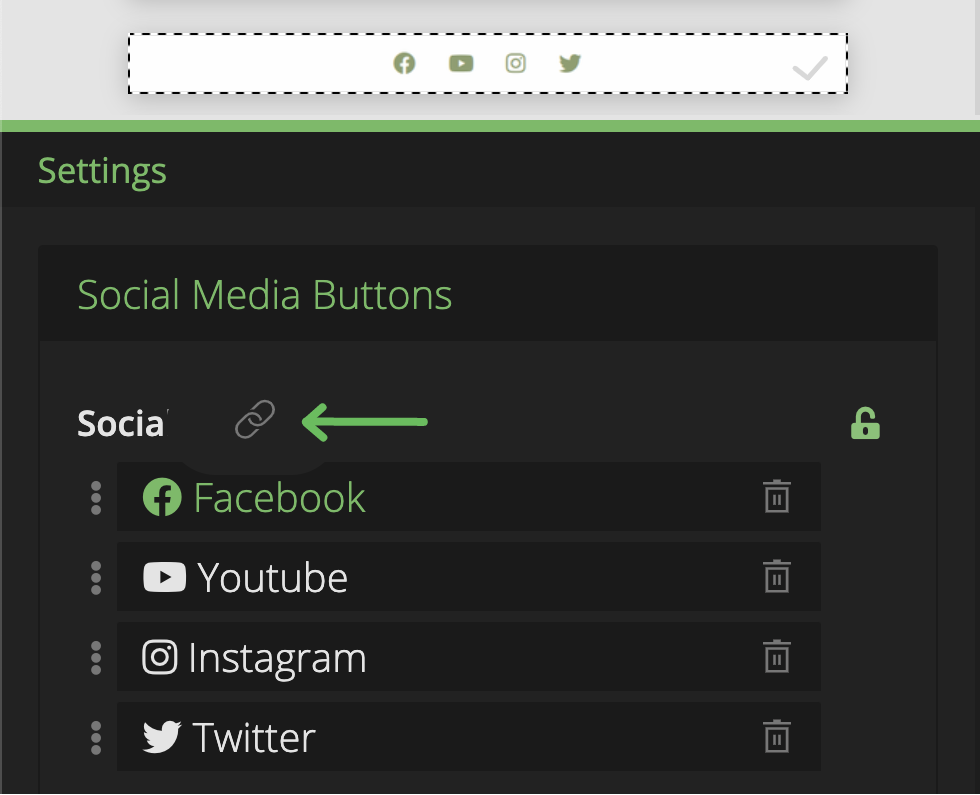
Tip 3: Link to all your social media profiles
Link to all your social media profiles from the template. As with the logo, this saves you time when creating campaigns. You don’t want to link to your social media every time you create a campaign from this template.
Tip 4: Add other links that should be a part of every campaign
Your template should have links that need to be a part of every campaign. This can include your website link, web version, unsubscribe link, etc.
Don’t forget to link to emails. If you have a support email in your footer, it’s wise to link to it so when people click it, it automatically opens their email client.
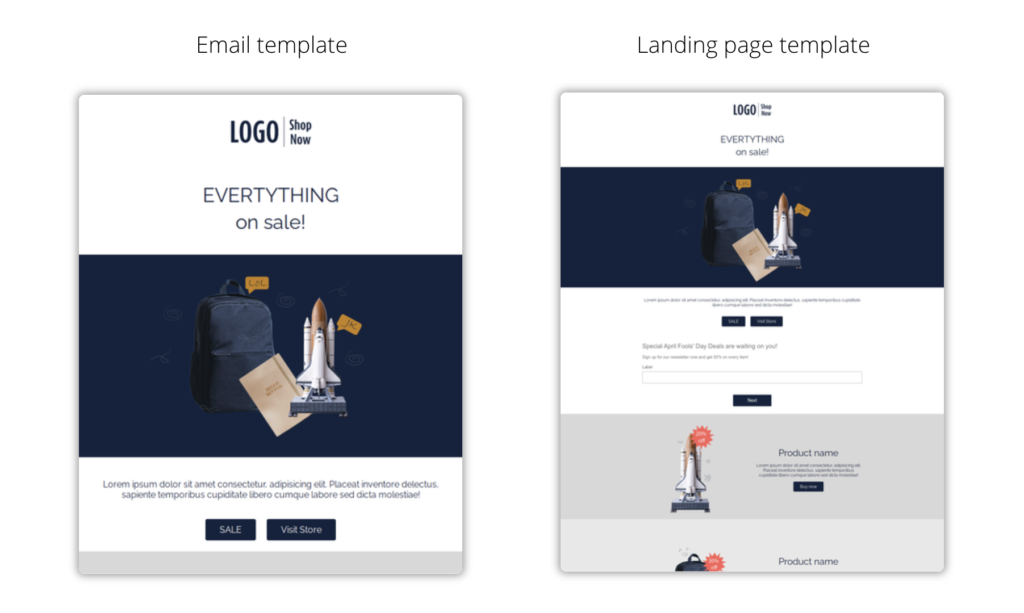
Tip 5: Use emails and landing pages with the same design
Combine your emails with landing pages with the same design. We have the same design across emails and landing pages for consistency.
This allows for a nice flow between your email as a traffic source and the landing page. Plus, the landing page form fits the same design.
There you have it. You can use our templates as they are or tweak them to fit your message and brand style. You can easily create and customize a professional template that will look good everywhere.
We continuously release new templates, so stay tuned. Try out Loopify’s templates today.